Python is a popular programming language known for its simplicity, readability, and versatility. It provides extensive libraries and frameworks that cater to various application domains.
Today we going to discuss how you can build and run apps in your terminal with a Python library called Textual. When you think of an application that runs in the terminal, you think of it as a text-based app but not with Textual.
While GUI’s – Graphical User Interface has gained popularity, there are applications in which TUI’s – Text User Interface is preferred, due to its lightweight, fast, and flexible input and output interactions.
What is Textual Python
Textual is an open-source Python framework created by Will McGugan, which is intended for rapid application development. Using a straightforward Python API to create complex text-based user interfaces (TUIs) and command-line interfaces (CLIs).
With Textual, you can create rich and interactive console applications by adding widgets like buttons, context switchers, scroll bars, menus, checkboxes, input fields, and more to your terminal programs.
Textual provides several components and tools that make it easier to build command-line applications, which support keyboard events, mouse events, and input handling. You can add layouts, panels, and views to structure your application’s interface. It also contains built-in support for themes, enabling you to customize the appearance of the application.
Here are some cool features of Textual:
- Rapid Development – Utilise your current Python skills to create stunning user interfaces.
- Low Requirements – If you choose to, you can run Textual on a single-board computer.
- Cross-Platform – It can run everywhere – Windows, Linux, and Mac.
- Remote – SSH can be used for running Textual apps.
- CLI Integration – The command prompt can be used to open and run Textual applications.
- Open Source – Want to make Textual better? You can contribute to the project because the MIT license applies to textual.
Install Textual on Linux, Mac, and Windows
To get started with Textual, your system must have Python 3.7 or later installed. After that, you can install Textual using PyPI, which is a repository of software for Python programming.
Installing textual[dev] is a must if you intend to develop textual apps. A few additional dependencies are installed in the [dev] portion for development.
pip install "textual[dev]"
OR
pip3 install "textual[dev]"
You can omit the [dev] part if you only want to run Textual apps as shown.
pip install "textual"
OR
pip3 install "textual"
Let’s not wait and run the following command to see what textual is capable of.
python -m textual
OR
python3 -m textual
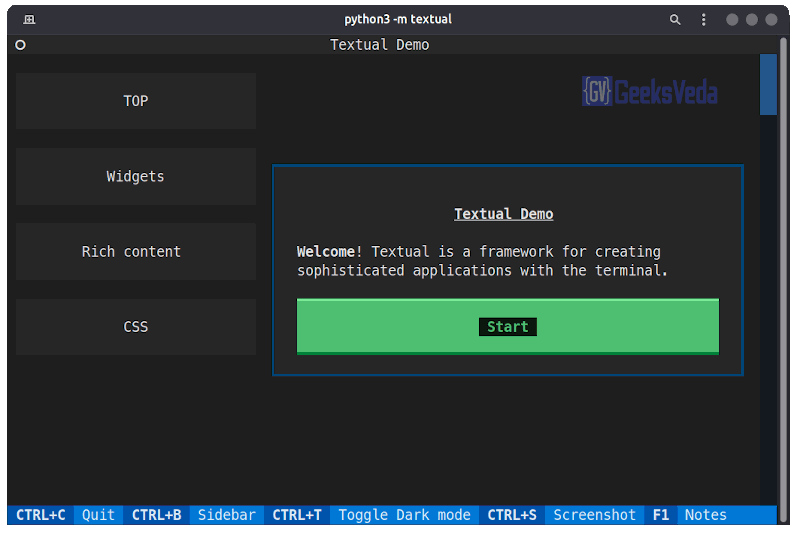
It is a demo provided by the library so that you can explore the functionalities provided like widgets – buttons, input, trees, etc and CSS (Cascading Stylesheets) to create a rich user interface.
Textual is built on Rich, which is a Python module that allows for stunning formatting and rich text in the terminal. With the help of these, we can display data like JSON or tables very beautifully in the terminal.
Create Your First TUI App in Python
After playing with the demo it’s time to get your hands dirty and write some real code. You can explore the official documentation for a more detailed explanation.
To create an app (app.py) first, we need to import the App class and create a subclass. Then we create an instance and use run() to start the app.
from textual.app import App

class MyApp(App):
	pass

if __name__ == "__main__":
	app = MyApp()
	app.run()
Now let’s run our app app.py using:
python app.py
OR
python3 app.py
You will see the following blank window:
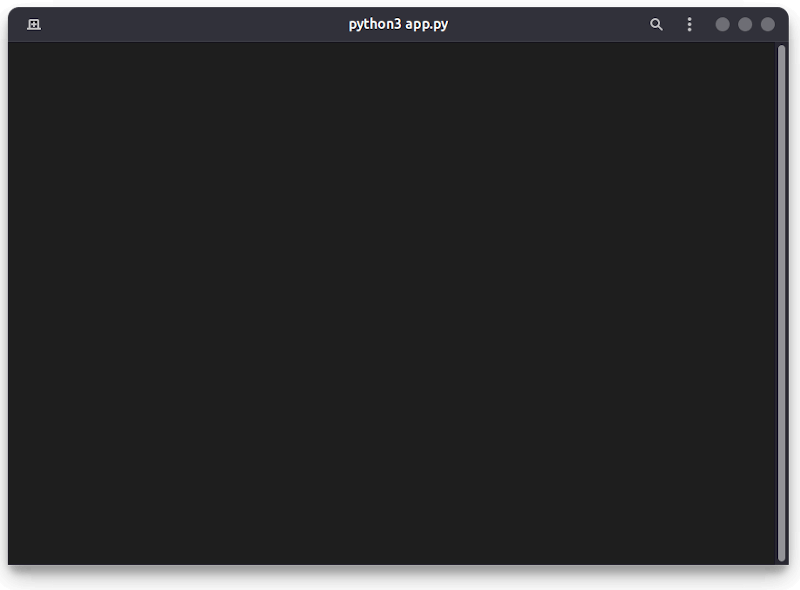
Seems boring, right? exit the app by hitting CTRL + X on your keyboard. Let us add some text and widgets.
from textual.app import App, ComposeResult
from textual.widgets import Button, Label

class MyApp(App):

    def compose(self) -> ComposeResult:
        self.close_button = Button("Close", id="close")
        yield Label("This is a Texual App Tutorial")
        yield self.close_button

    def on_mount(self) -> None:
        self.screen.styles.background = "blue"
        self.close_button.styles.background = "purple"
    def on_button_pressed(self, event: Button.Pressed) -> None:
        self.exit(event.button.id)

if __name__ == "__main__":
    app = MyApp()
    app.run()
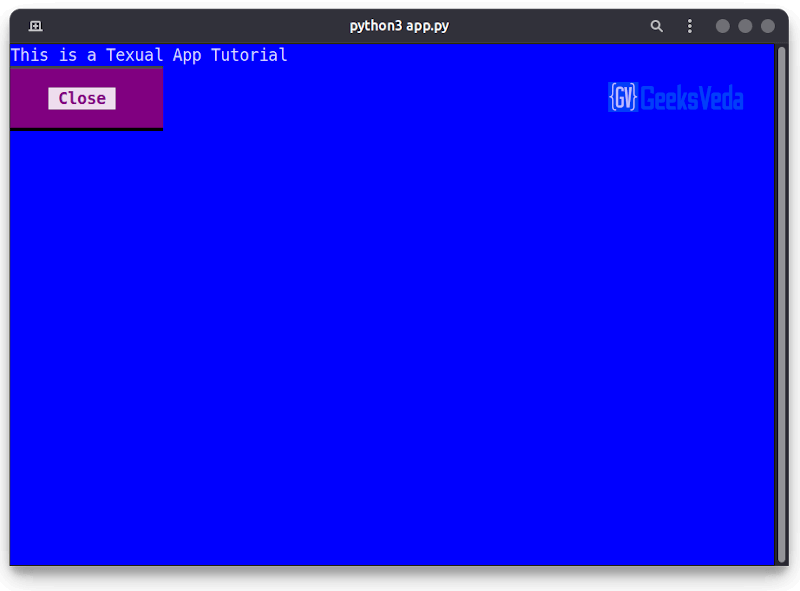
This made our app a little alive. The close button works perfectly. Try to click it with your mouse to exit. The self.screen.styles.background attribute is assigned to “blue” by the on_mount handler, which, as you can probably guess, makes the backdrop blue.
The last step is to develop a on_button_pressed() method, which serves as an event handler to detect button presses. Your program ends when the close button is hit, which calls the function on_button_pressed().
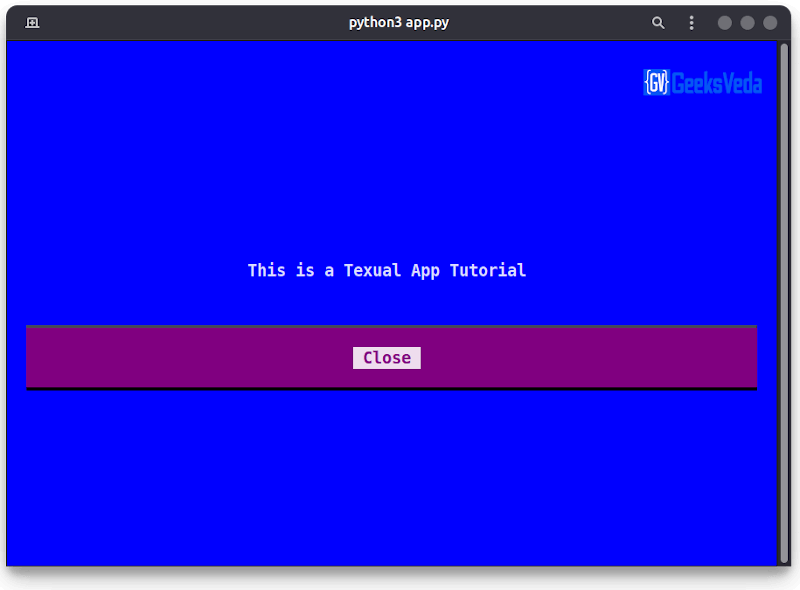
Adding CSS to App
Cascading Stylesheets, or CSS is a list of styles and instructions on how to use each style on a web page. The only difference with Textual is that widgets are styled by the stylesheet, but the concept is the same.
Create a CSS file called app.css in the same directory where your app.py is present and add the following code to it.
Screen {
	layout: grid;
	grid-size: 2;
	grid-gutter: 2;
	padding: 2;
}
#tutorial {
	width: 100%;
	height: 100%;
	column-span: 2;
	content-align: center bottom;
	text-style: bold;
}

Button {
	width: 100%;
	column-span: 2;
}
And make the following changes to your app.py application. We are importing the CSS file we created using the “CSS_PATH = “app.css””.
from textual.app import App, ComposeResult
from textual.widgets import Button, Label


class MyApp(App):
	CSS_PATH = "app.css"

	def compose(self) -> ComposeResult:
    	self.close_button = Button("Close", id="close")
    	yield Label("This is a Texual App Tutorial", id="tutorial")
    	yield self.close_button

	def on_mount(self) -> None:
    	self.screen.styles.background = "blue"
    	self.close_button.styles.background = "purple"

	def on_button_pressed(self, event: Button.Pressed) -> None:
    	self.exit(event.button.id)

if __name__ == "__main__":
	app = MyApp()
	app.run()
Then we added ids to the label and the close button. The number two indicates that the grid will be two columns wide and have two rows when you tell Textual that you want to employ a grid layout.
The grid gutter regulates the distance between rows. Last but not least, padding is adjusted to surround the widget’s content with space.
Only a few elements were discussed in this article. There is much Textual can do.
Conclusion
In conclusion, the Textual library empowers Python developers to effortlessly create sophisticated and interactive user interfaces in the terminal. With its simple API and versatile features, Textual enables the seamless development of command-line applications with a focus on usability and engagement.
Whether you’re building command-line tools or text-based games, Textual offers a powerful and intuitive framework for crafting immersive experiences in the world of text-based interfaces.
Start exploring Textual today and unlock the potential of text-driven interactivity in your Python applications.